Castings
- Inspecvision .
- Apr 1
- 2 min read
Updated: Sep 1

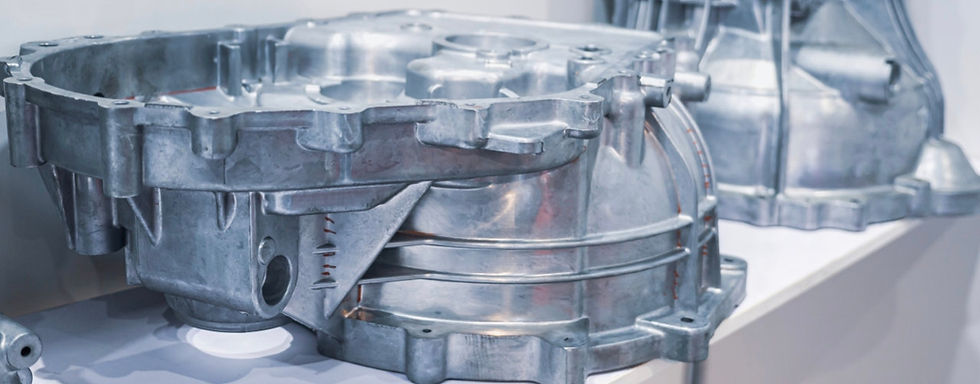
The metal castings and machined parts industry is very challenging for a variety of reasons. The raw material and energy costs are very high. The applications are usually extremely demanding industries, such as automotive and aerospace.
Metal machining is an expensive secondary process and the overall casting process is quite slow and relatively manual.
It is for these reasons that this application has one of the highest scrappage costs in engineering. The best way to curb these costs is to identify problems at the earliest possible stage of production. Inspection is an essential tool to achieve this goal.

CMM Inspection Is Not Adequate
Unfortunately, the existing inspection methods such as CMMs are slow, extremely complicated and expensive both to purchase and to run. In addition, conventional CMMs can only be used to measure a limited number of points.

Inspection Is Not Optional
Due to the quality demands of industries such as automotive and aerospace, inspection is not an option.
A Complete Solution Is Needed
What is needed is a system that can inspect cast and machined parts fully, with the surface measurement as well as measurements of the overall form of the part.
The system must also be available in a wide range of sizes and accuracies to ensure it can meet the needs of your facility.
The Opti-Scan 3D Solution
The Opti-Scan 3D is a high accuracy, non-contact white light scanning system.
The Opti-Scan model OS350 is a fully automated 3D scanner. It uses the latest vision techniques to acquire up to 10 million measurements of the castings surface with each scan.
Two-axis repositioning is then used to automatically rotate the cast part in front of the scanning head and tilt the scanning head to change the scanning angle.
This arrangement creates a viewing hemisphere that allows the system to scan the visible surfaces of most cast parts in just 2 or 3 minutes.
Once the surface measurements have been acquired they are automatically compared to the CAD solid model for inspection purposes. Alternatively, they can be loaded into a 3D CAD package for reverse engineering.
The Opti-Scan 3D system comes with free 3D inspection software to perform all core, intermediate and some advanced inspection functions including; loading of 3D CAD models, alignments, creation of reports, 3D deviation maps, GD&T, airfoil inspection and PDF output.
A Highly Automated System
The most impressive feature is the level of automation. The entire inspection process can be triggered with a single click or the scan of a barcode.
It measures all surfaces and features and requires no preprogramming
Casting Reverse Engineering
Opti-Scan 3D enables you to reverse engineer free-form surfaces and geometric entities from the point cloud data back to a variety of native CAD formats.
Opti-Scan 3D Inspection Report
Within 5 minutes reports can be generated to show conformity to dimensional requirements (including First Article Inspection reports). See figures 1 – 5.
The Opti-Scan 3D white light scanning system has a large range of sizes accuracies..


For more information on how InspecVision systems can help you please contact our team at sales@inspecvision.com.


